Table of contents
Intro – Why Make a Tutorial Video?
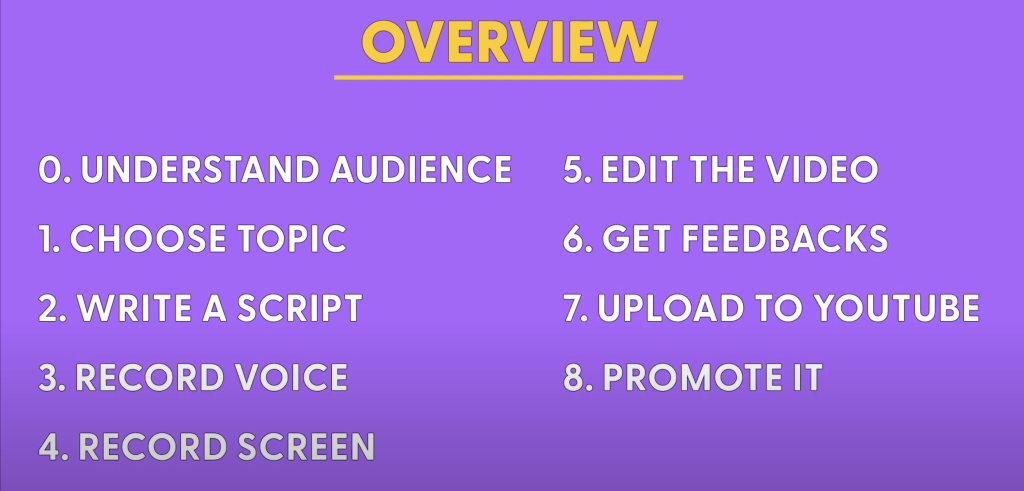
Hi, I’m Eric, CEO of Ssemble. In the Ssemble Create series, we delve into the world of creating impactful tutorial videos, specifically designed for SaaS companies. In this post, we are going to walk you through the entire process of creating and promoting tutorial videos. From understanding your audience, selecting a topic, to writing scripts, recording, and finally, editing and uploading your video to YouTube.
Definition of Tutorial Video
The tutorial video is an instructional guide video that clearly explains how to use specific features or functionalities of a product.
Preparation
Before we dive into the actual steps of creating tutorial videos, it’s important that we outline our goals first. Why are we doing this, anyway? Well, there are two primary reasons.
Preparation 1. Set the Goals of Tutorial Video
1. Educate users about our product’s features
We want to ensure that users can effectively use our software, and there’s no better way to do this than by showing them how right? Tutorial videos can significantly simplify the learning curve for our users and allow them to take full advantage of our product’s features. It will increase the conversion rate on the onboarding process and the retention rate as well.
2. YouTube SEO traffic
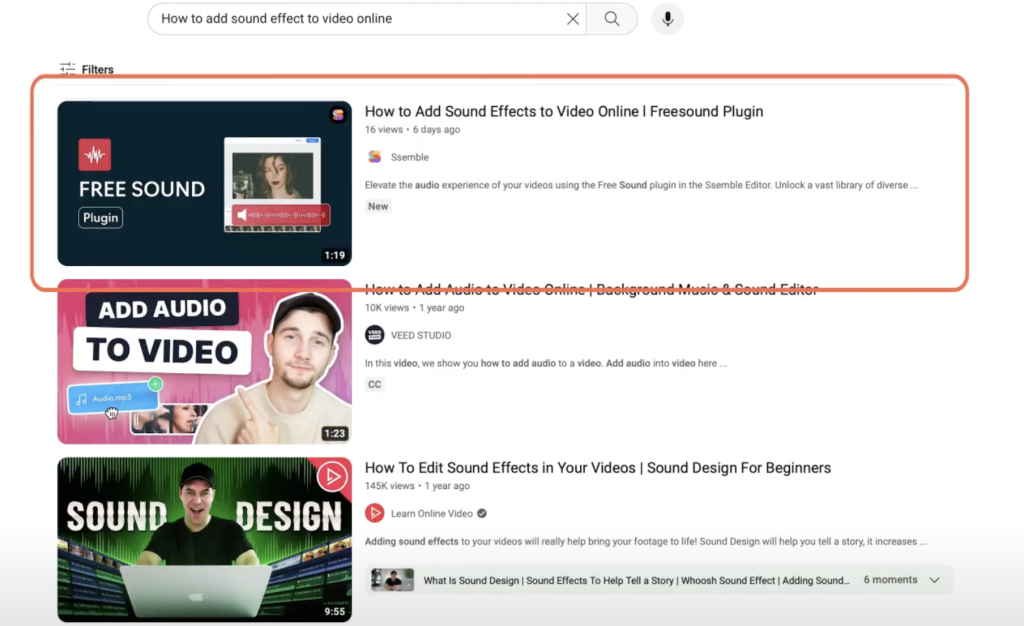
This may sound a bit technical, but it’s pretty straightforward. When we upload our tutorials on YouTube, and if we optimize them properly, they will show up in search results when users are searching for related topics. This is a great way to attract new users to our product and increase our brand’s visibility.
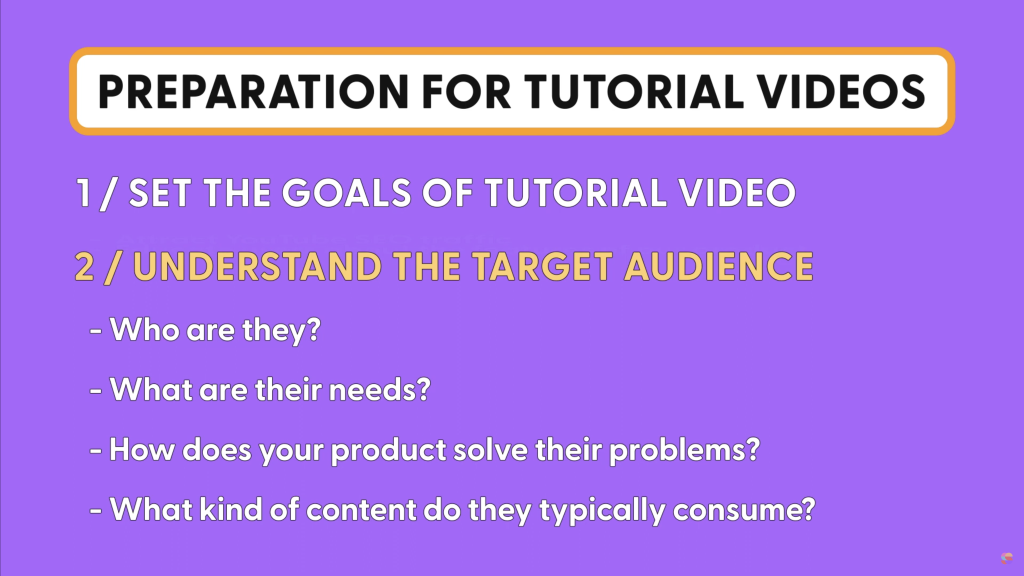
Preparation 2. Understand your Target audience
Next, Understanding your target audience is a crucial part of creating effective tutorial videos.
Why? Because knowing who you’re talking to will shape everything from the style of your video to the language you use. But how do you identify your target audience? Start by asking some basic questions about your viewers.
- Who are they?
- What are their needs?
- How does your product solve their problems?
- What kind of content do they typically consume?
Answers to these questions will give you a clearer picture of your target audience.
Step1. Choosing the right Topic for Your Tutorial
Alright, it’s time to dive into the actual creation of your tutorial videos. And the very first step?`
Choosing your topic.
Now, you might be wondering, why does the topic matter so much? Well, your choice of topic can significantly impact the success of your tutorial video in two main ways.
1. It’s all about demand.
If you’re looking to attract many viewers, you want to create a video on a topic people are actually searching for. This is where SEO, or Search Engine Optimization, comes into play. But, how do you find out what topics are in demand?
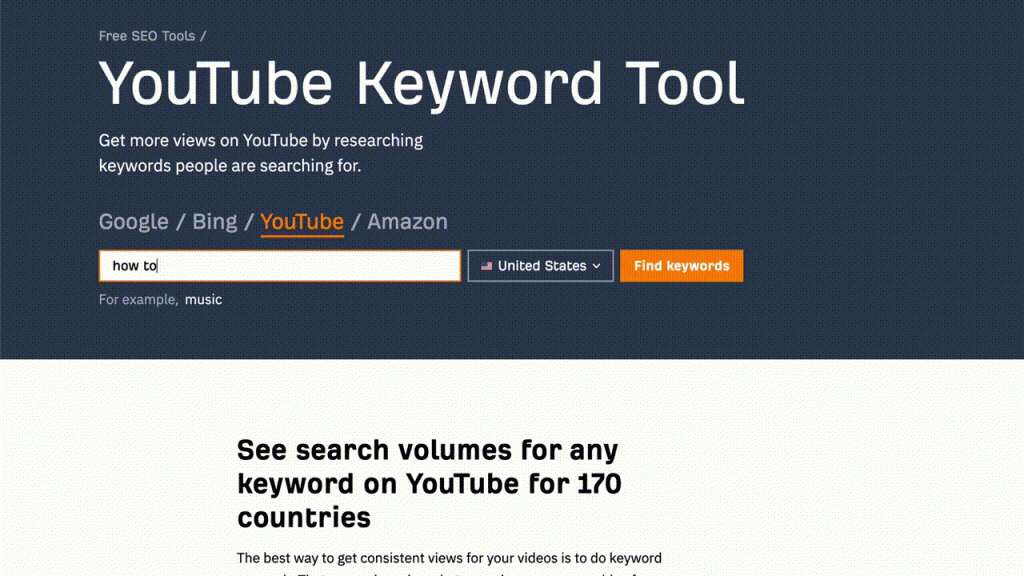
I recommend Ahrefs YouTube Keyword Tool. This tool is a goldmine for discovering what people are searching for on YouTube related to your product.
Let’s do a quick walkthrough. This is the Ahrefs YouTube Keyword tool. Here, you can type in keywords related to your product and it will show you the search volume – that’s how many people are searching for that specific term on YouTube every month. This data can guide your topic selection, ensuring your tutorial video is both useful to your users and has potential to attract organic traffic.
2. Your topic should be something that helps users get the most out of your product
Your tutorial video should
- answer common questions
- provide new insights
- or even introduce cool features that users might not be aware of
Step2. Script writing
I can’t stress this enough – a well-written script is at the heart of any successful tutorial video.
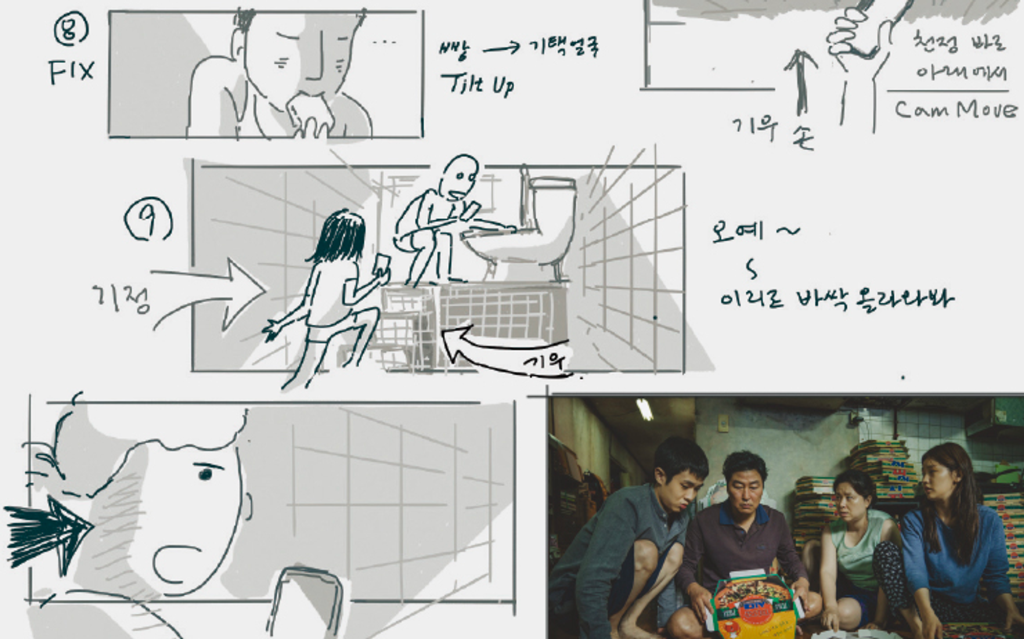
Do you remember the 2020 Academy award-winning movie Parasite by Bong Junho?
It swept the Oscars that year, and one of the reasons for its success is the director’s meticulous attention to detail.
Before he shoot a single scene, every frame is carefully planned and documented in his storyboard. It’s this kind of precision that transforms an ordinary film into an Oscar-winning masterpiece.
And the same concept applies to making tutorial videos. A well-planned script serves as your roadmap. It ensures that you cover all the necessary details, in the right order, and with the right emphasis. So take the time to write a good script
The good news is you don’t have to create this script all by yourself.
We all know that ChatGPT is an incredibly smart helper for tasks like this.
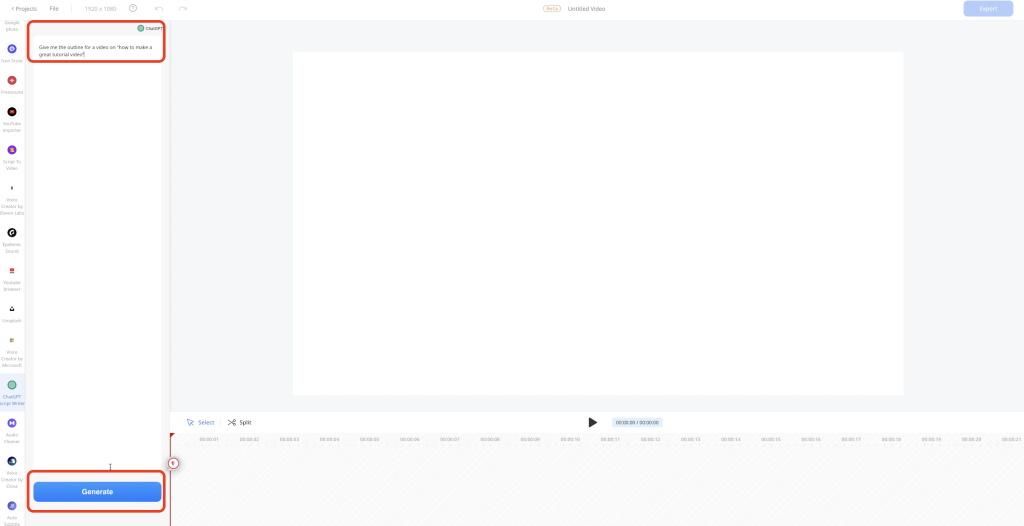
And, even better news – Ssemble has integrated the ChatGPT Script Writer directly into its platform!
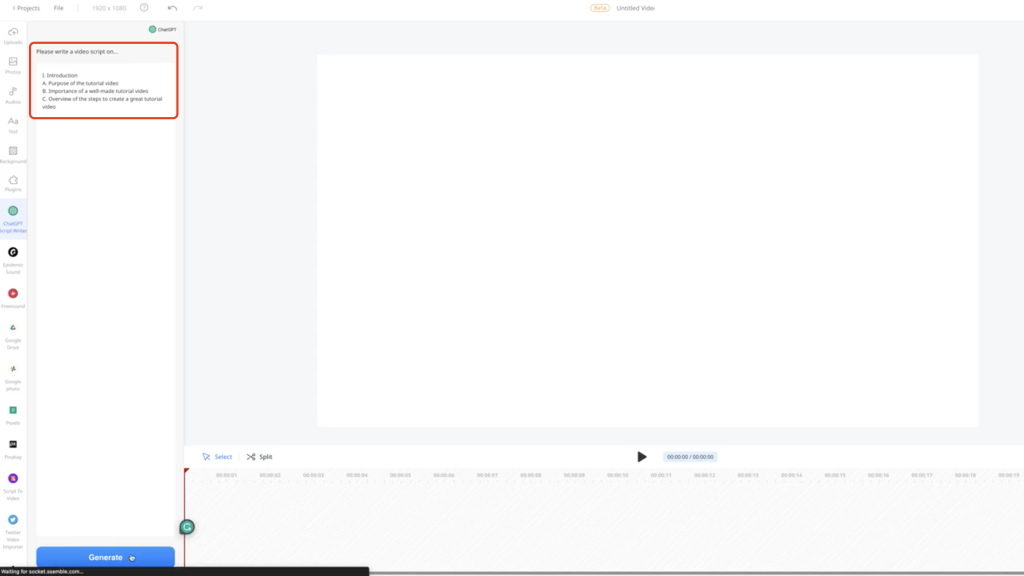
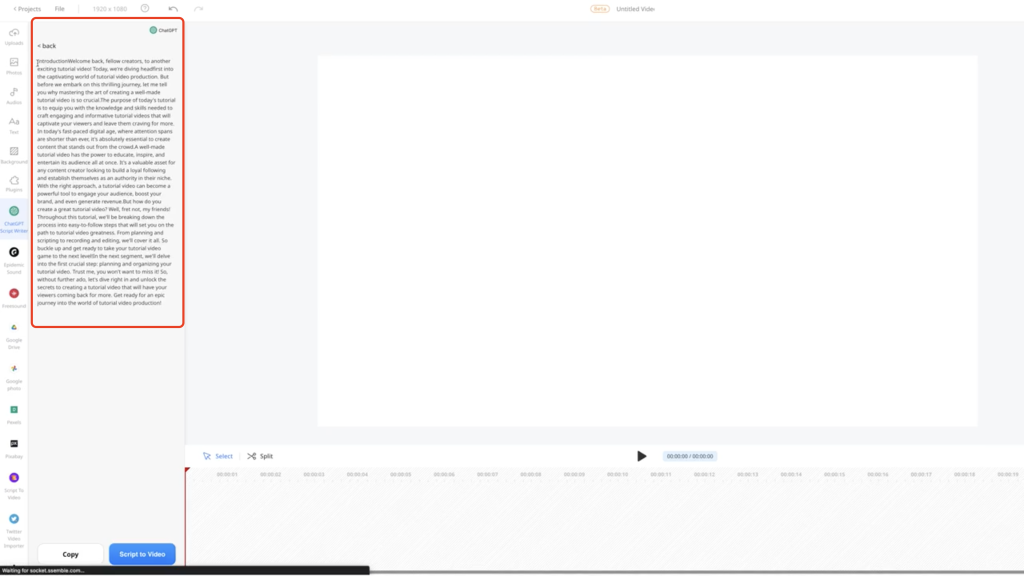
1. Firstly, you’ll use it to create an initial outline of your tutorial, ensuring you have a solid plan and structure for your content.
2. Next, you’ll be able to customize this outline, adding in new sections, combining existing ones, or even changing the sequence to better fit your flow.
3. And the best part? Once your outline is all set, you can use the ChatGPT plugin to flesh out actual sentences for each item, turning your outline into a fully-fledged script!
Step3. Voice Recording for Your Tutorial
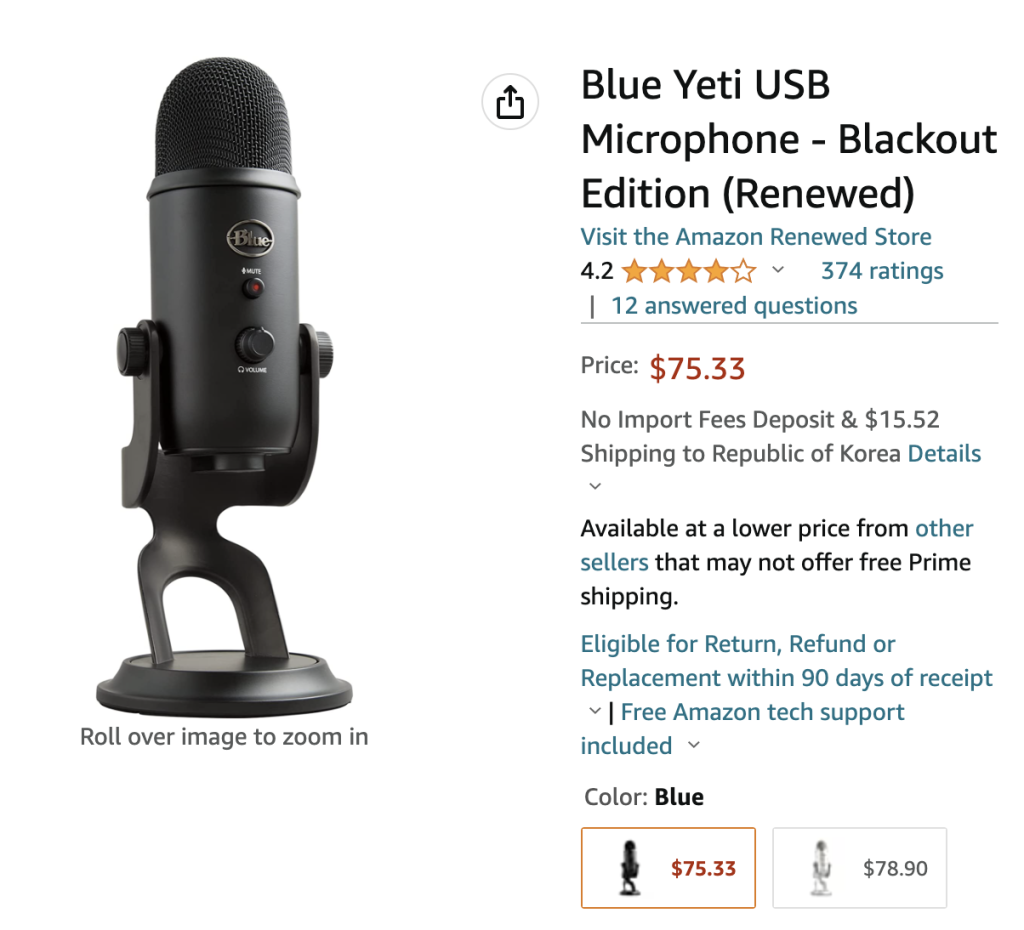
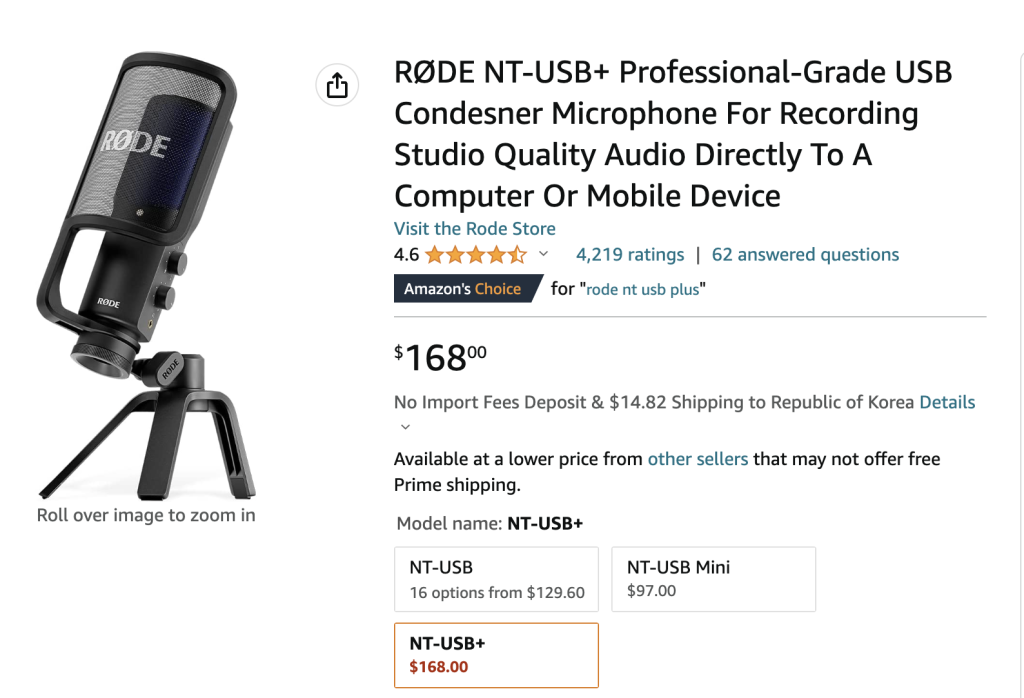
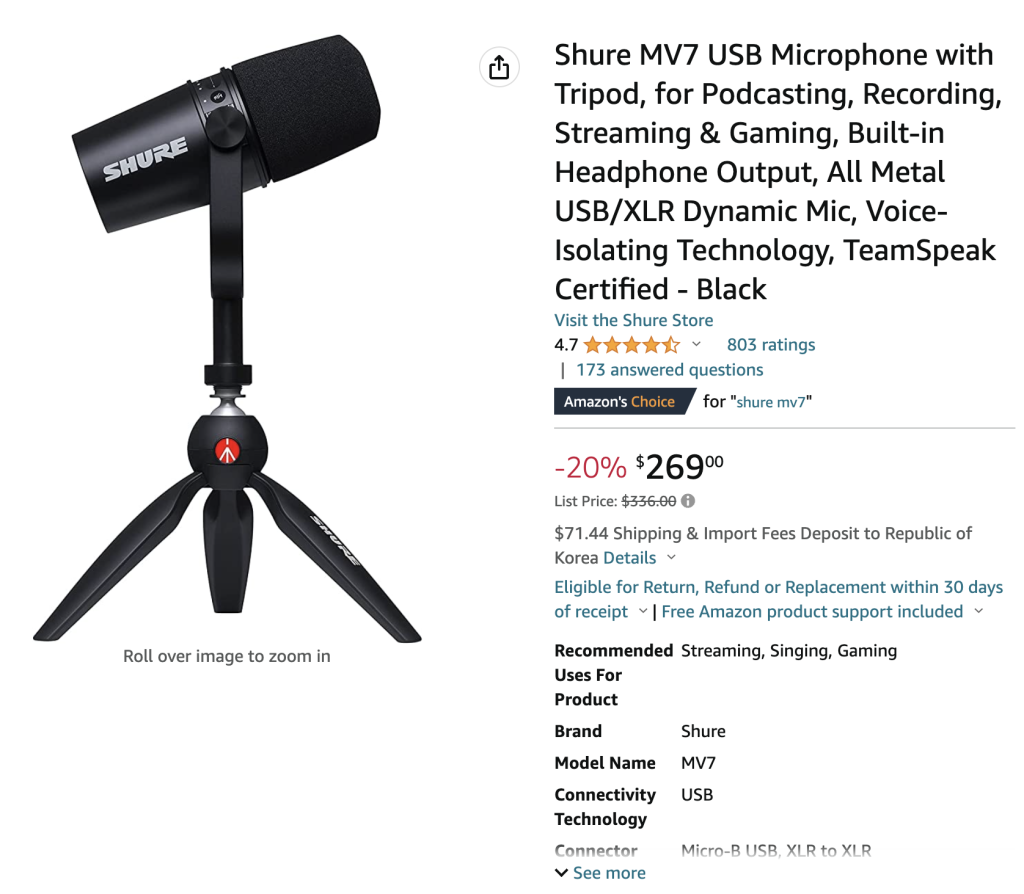
Voice recording is a crucial element in tutorial videos. Clear and audible speech enhances the viewers’ understanding and engagement. Poor audio, on the other hand, can confuse the viewers or even make them abandon the video altogether. To achieve quality voice recording, one popular solution is to use is a USB microphone.
1. USB Microphone
Among the most recognized options in this category are the
2. Smartphone’s Mic
However, not everyone may have the resources to invest in high-end microphones. In such cases, using your smartphone’s mic can be a viable alternative. To improve the quality of audio recorded on your smartphone, you can employ Ssemble’s Audio Cleaner plugin.
It removes the background noise and enhances the sound quality with just one click.
3. AI Voice Creator
In certain instances, you might be considering alternatives to your own voice, perhaps due to language barriers or personal comfort.
In these situations, AI Voice Creator plugins in Ssemble could be a perfect fit.
The cost of hiring a voice-over artist can be quite high. For instance, on platforms like Fiverr, you may end up paying approximately $180 for a 100-word narration.
In contrast, the AI-powered Elevenlabs Voice Creator plugin is much more affordable, costing $5 for 30,000 characters, which is about 6,000 words.
In terms of naturalness, AI has made remarkable strides in recent years. For instance, let me share this Elevenlabs Voice Creator plugin’s sample. Isn’t it great?
| Aspect | Hiring Voice-Over Artist on Fiverr | Elevenlabs Voice Creator Plugin |
|---|---|---|
| Cost | $180 | $5 |
| Word | 100 words | 6,000 words (30,000 characters) |
| Naturalness | Almost Same | Almost Same |
Step4. Screen Recording for Your Tutorial
Now let’s step up to the next important element, screen recording. This is crucial as it shows your audience exactly what you’re doing.
Mac
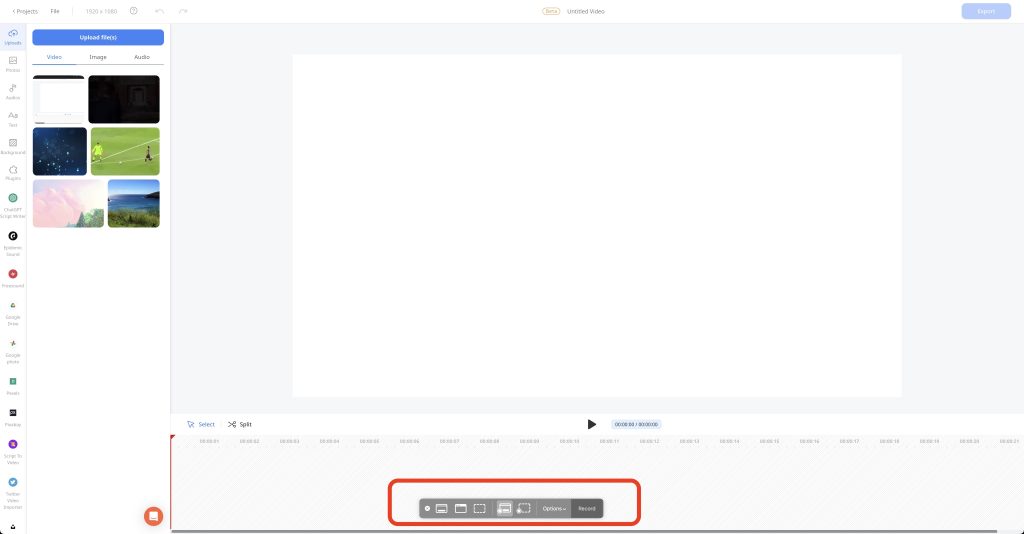
If you’re on a Mac, screen recording is super simple.
Just press Command + Shift + 5 on your keyboard, and voila, the screen recording toolbar appears. From here, you have options: ‘Record Entire Screen’ or ‘Record Selected Portion.’ Choose what suits your tutorial best and then hit ‘Record’ in the controls.
PC
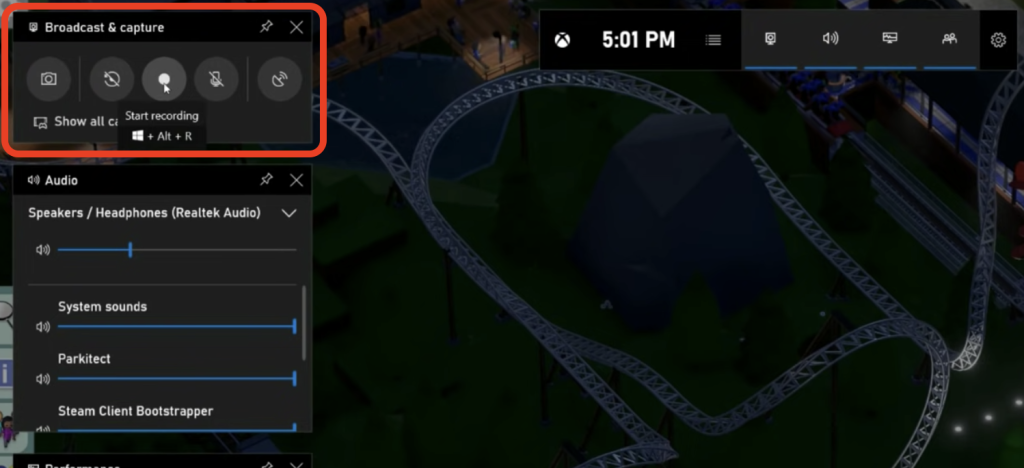
For PC users, press Windows + G on your keyboard to bring up the Game Bar.
Once you have the Game Bar open, click the ‘Record’ button or press Windows + Alt + R to start or stop your recording.
When you’re finished recording, the clip automatically gets saved in the ‘Videos/Captures’ folder on your computer in an MP4 format.
Step5. Editing your Tutorial Video
Alright, let’s jump straight into Step 5 – editing your tutorial. The editing phase is where your tutorial really starts to come to life. In this tutorial, we’re gonna use Ssemble, the simplest and most powerful online video editor.
1. Import
Firstly, we need to import the voice over and your screen recordings.
- You can drag and drop them here. And then click to add them to the timeline.
- If your collaborator wants to share the voice and screen recording files via Google Drive, you can use the Google Drive plugin to import the files directly into the project
2. Cut
Now, we need to cut the mistakes out from voice over. Ssemble offers two ways to cut those slip-ups in your voice recording.
- One is the typical cut editing. You can cut, trim, delete the parts you want to remove.
- The other is our innovative text-based editor, which is under development. This allows you to quickly cut out any stutters or mispronunciations by editing the text.
3. Intro
Next, let’s focus on the beginning of your video. An appealing intro is crucial in attracting your audience. Ssemble’s Intro Maker plugin provides professional intro templates. You can customize them with your logo and text. Be sure to add a suitable size and format for your logo. If you don’t have a logo, try a business name generator or logo maker.
3. Subtitle
Next It’s worth considering adding subtitles to your video. You might be thinking, doesn’t YouTube provide subtitles? Yes, but they can be inaccurate. Our Auto Subtitle plugin uses the Assembly AI engine to automatically generate accurate subtitles, moreover you can customize its style.
4. Lower third
Lower thirds can be useful for presenting additional information or emphasising key points. While our Awesome Lower Thirds plugin is still under development, you can look forward to incorporating this plugin into your future videos.
5. Sound Effects
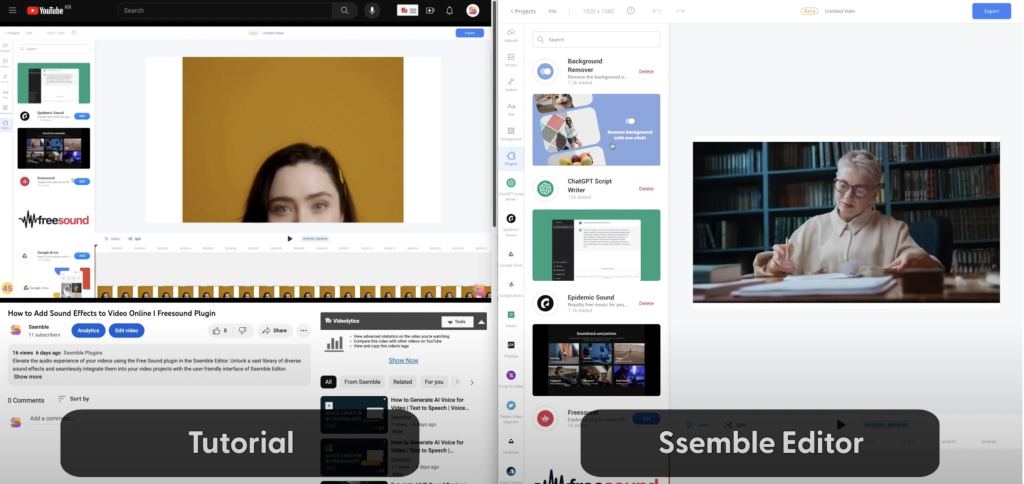
Sound effects can help engage your audience more effectively. Our Freesound plugin allows you to easily incorporate sound effects into your tutorial. It has half a million sound effects, which means it covers almost every sound effect you may need.
6. Graphics elements
Graphics elements can also be added to annotate your video or simply to make it more fun. Our IconScout plugin offers a plethora of annotation graphics you can utilize.
7. Call To Action
Finally, end your video with a compelling call to action. Encourage viewers to Like, Subscribe, and Share your content. You can use catchy icons and sound effects to make your request more engaging. Remember, engagement is key to building and growing your YouTube audience!
Step6. Getting Feedback from your collaborators
And now we’ve arrived at Step 6 – Getting Feedback from your collaborators.
One crucial aspect of creating a successful tutorial video is the feedback process. It’s how you ensure your video is clear, concise, and conveys the information effectively.
Ssemble offers easy-to-use sharing and commenting features.
Sharing
Sharing is as simple as inviting your collaborators with their emails or providing a direct link of the project to your collaborators. Plus, you can enhance security by using an SPF record checker to ensure email authenticity and prevent unauthorized access.
Commenting
When it comes to commenting, Ssemble shines with its user-friendly interface. Collaborators can select any object in the video and add their comments about that specific part.
Step7. Uploading your tutorial to YouTube
For Step 7, it’s time to bring your hard work to the public eye – Uploading your tutorial to YouTube.
Title
First off, choosing the right title is crucial.
- As mentioned earlier, Ahref’s YouTube keyword tool is helpful to decide which keyword should be included in the title.
- And it should be under 60 characters
- and complement the thumbnail
Filename
And, File name is also an important factor for SEO. So I recommend to include the same target keyword for the file name.
Thumbnail
Once you’ve got a title, you’ll want a thumbnail that’s both click-worthy and relevant. Canva is a fantastic tool for this job. It’s user-friendly and offers a multitude of templates and design elements to create a thumbnail that stands out.


