Channel Automation: Turn Any YouTube Channel Into a Shorts Machine

Eric Lee
CEO and Founder of Ssemble
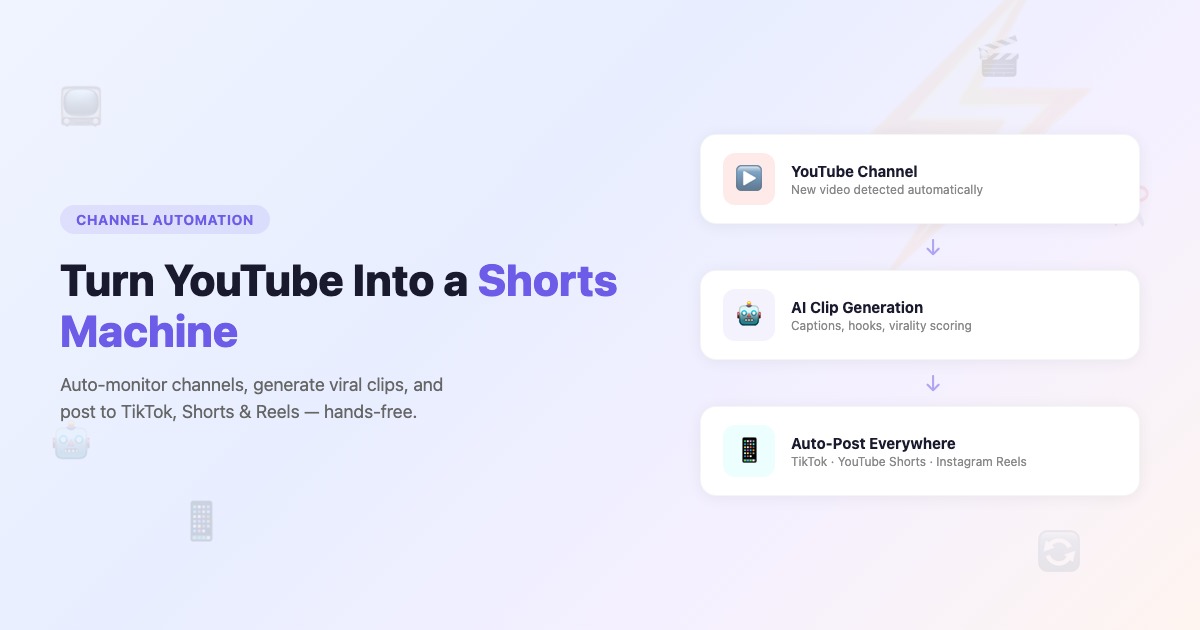
What if every new YouTube video on a channel automatically became a dozen short-form clips — edited with captions, scored for viral potential, and posted to TikTok, YouTube Shorts, and Instagram Reels on a schedule you set once?
That's exactly what Channel Automation does. No manual clipping. No editing. No remembering to post. Just set it up, and Ssemble handles the rest.
What Is Channel Automation?
Channel Automation turns any public YouTube channel into a fully automated content pipeline. Here's what happens behind the scenes:
- Ssemble monitors the channel for new video uploads
- AI analyzes each video and extracts the most engaging moments as short-form clips
- Every clip gets a virality score from 0 to 100 based on hook strength, emotional impact, and standalone quality
- Top-scoring clips are auto-posted to your connected social accounts — YouTube Shorts, TikTok, and Instagram Reels
- All clips are saved to your dashboard, so you can review, edit, or manually post the rest anytime
It works with any public YouTube channel — your own, a competitor's, an industry leader's, or a podcast you want to repurpose. The channel owner is never notified, and no YouTube API access is required.
Who Is It For?
- Creators who want to turn long-form videos into a steady stream of Shorts without touching an editor
- Social media managers running multiple brand accounts who need consistent, high-quality short-form content
- Agencies and businesses repurposing webinars, podcasts, and thought leadership videos across platforms
How to Set It Up
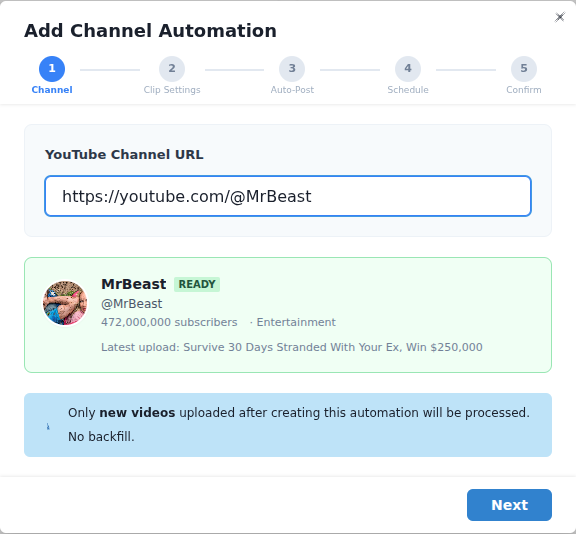
Setting up an automation takes about 2 minutes. The setup wizard walks you through six steps:
- Add a channel — Paste any YouTube channel URL, handle, or video URL. Ssemble resolves it and shows you the channel name and thumbnail for confirmation.
- Configure clip settings — Choose your virality threshold, clip duration, number of clips per video, and how often to check for new uploads.
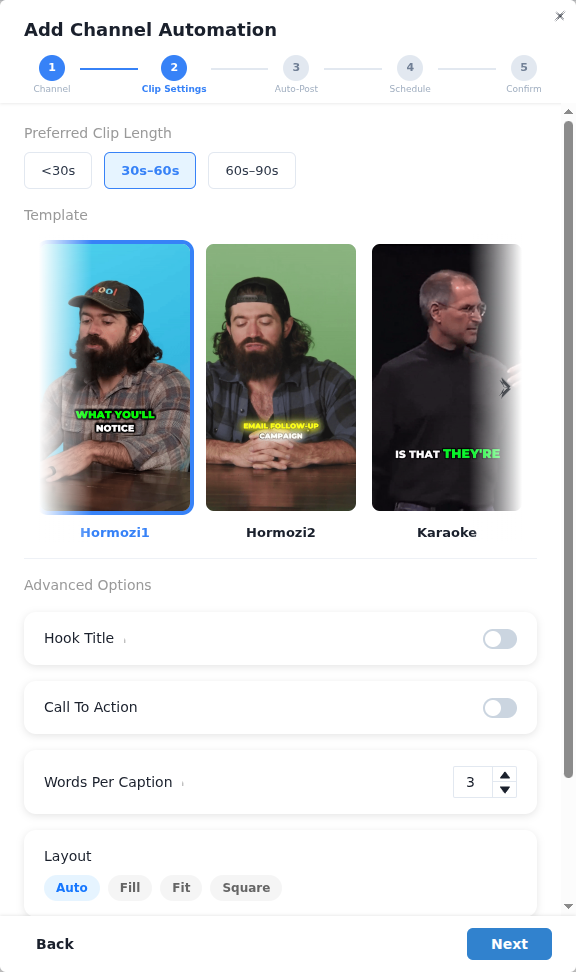
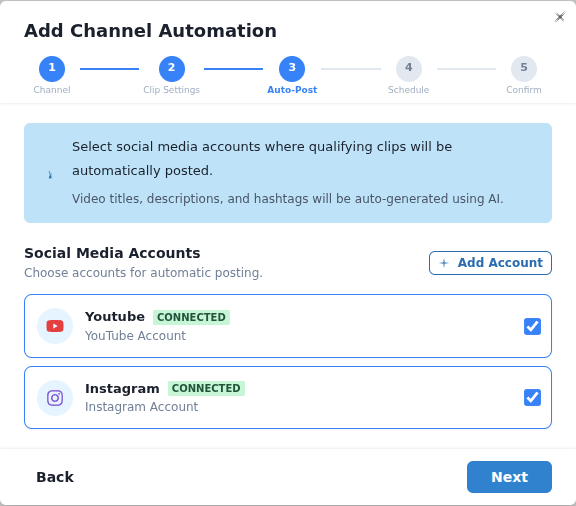
- Choose platforms — Select where clips should be posted: YouTube Shorts, TikTok, Instagram Reels, or any combination. You'll also pick a caption style template.
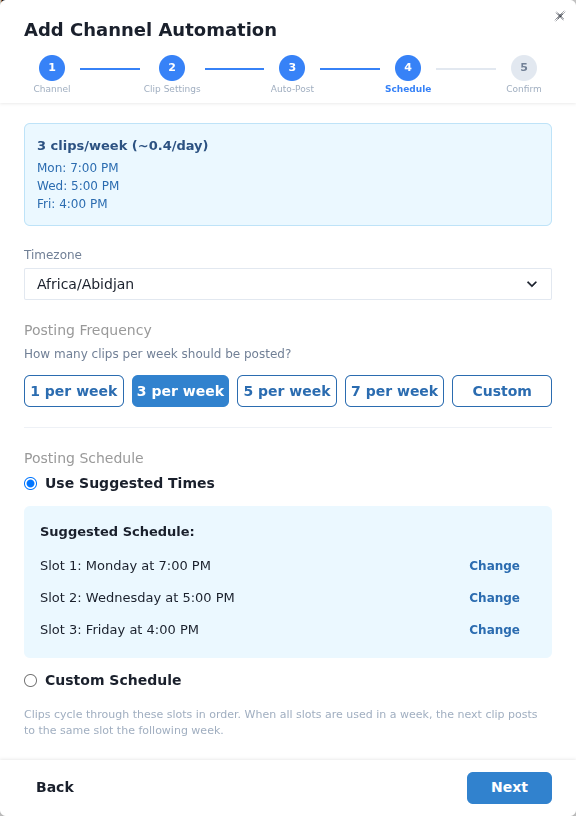
- Set your posting schedule — Pick how many times per week to post, and either use a suggested schedule or customize exact days and times.
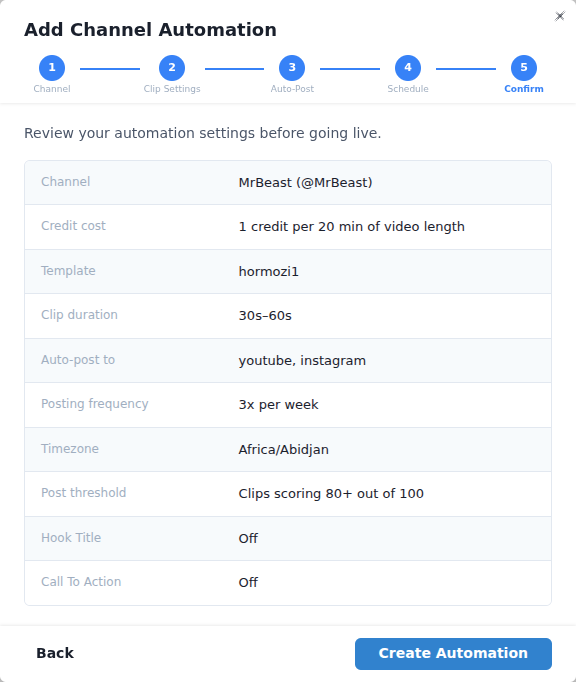
- Review and activate — Confirm everything looks right and hit Activate. The automation starts monitoring immediately.
That's it. From this point forward, every new video on that channel is automatically processed — no action needed from you.
For a detailed walkthrough of each step, see the full setup guide.
Choosing the Right Clip Settings
The settings you choose determine the quality, quantity, and style of your clips. Here are the key ones and our recommendations:
Virality Threshold
Every clip gets a virality score from 0 to 100. Only clips at or above your threshold are auto-posted. Everything else is saved for manual review.
| Threshold | Best For | What to Expect |
|---|---|---|
| 90+ | Viral-only | Very selective. Some videos may produce zero qualifying clips. |
| 80+ | Quality over quantity | Only the best clips. Fewer posts, but each one is more likely to perform well. |
| 70+ | Balanced approach | Roughly half the clips make the cut. Best starting point for most users. |
Start at 70, then adjust after a week based on how your posted vs. saved clips are performing.
Clip Duration, Clips Per Video, and Check Frequency
| Setting | Recommendation | Why |
|---|---|---|
| Clip duration | 60 seconds | Works across all platforms. Long enough for depth, short enough for engagement. |
| Clips per video | 3–5 | Balanced extraction. Go higher (7–8) for long-form content like podcasts. |
| Check frequency | Every 12 hours | Catches new videos within half a day without unnecessary overhead. |
All settings can be changed anytime. Changes apply to future videos only — already-processed videos won't be reprocessed.
See Choosing the Right Clip Settings for detailed explanations of each option.
Set Up Your First Automation in 2 Minutes
Monitor any YouTube channel and auto-post the best clips to TikTok, YouTube Shorts, and Instagram Reels — completely hands-free.
Get StartedSetting Up a Smart Posting Schedule
Channel Automation uses a weekly posting schedule with specific time slots. When a new clip is ready, it's automatically assigned to the next available slot.
Two Scheduling Modes
- Suggested Schedule — Pick a frequency (e.g., 7 per week) and Ssemble distributes slots evenly across the week at optimal times.
- Custom Schedule — Set exact days and times yourself. Full control over when each clip goes live.
What Happens When You Have More Clips Than Slots?
Clips cycle through your slots in order. If you have 10 clips but only 7 weekly slots, the extra 3 are assigned to slots in the following week. Nothing gets lost or skipped.
Best Posting Times
Based on platform data, these windows tend to get the highest engagement:
- Morning: 7–9 AM
- Lunch: 12–1 PM
- Evening: 5–7 PM
- Night: 8–10 PM
Set your timezone to match your target audience, not necessarily your own location.
How Often Should You Post?
| Frequency | Best For |
|---|---|
| 1–3/week | Low-volume channels, brand accounts |
| 5–7/week | Ideal for growth — daily presence without overwhelming followers |
| 7–14/week | Aggressive growth — multiple posts per day |
| 14–21/week | High-volume strategy for maximum reach |
Our recommendation: Start with 5–7 posts per week. This gives you consistent daily presence and enough data to see what's working.
Full details in Setting Up Your Posting Schedule.
Managing Your Automations
Once an automation is running, you can monitor and adjust everything from the Channel Automation dashboard.

What You Can Do
- Edit Settings — Change your virality threshold, clip duration, platforms, or posting schedule at any time
- Pause / Resume — Temporarily stop an automation without losing your settings. Already-scheduled posts still go out.
- View Activity Log — See every video that's been processed, how many clips were generated, virality scores, and posting results

- Check Now — Trigger an immediate check for new videos instead of waiting for the next scheduled check
- Remove — Delete an automation entirely. Clips already generated are preserved; posts already published stay live.
Automation Statuses
| Status | Meaning |
|---|---|
| Active | Running normally — checking for videos, generating clips, posting on schedule |
| Paused | Manually paused — no checking or processing until you resume |
| Credits Exhausted | A video was detected but you don't have enough credits. Auto-resumes when credits are replenished. |
Credits
Channel Automation uses the same credit system as manual AI Clipping:
- 1 credit = 20 minutes of video
- A 10-minute video costs 1 credit. A 45-minute video costs 3 credits.
- Credits are consumed during video processing, not when clips are posted.
Plan Limits
| Plan | Channels | Video Credits |
|---|---|---|
| Pro | 1 | 30/month |
| Expert | 3 | 60/month |
| Business | 10 | 120/month |
Start Automating Today
Channel Automation removes the most time-consuming part of short-form content: finding, clipping, editing, and posting. Set it up once, and every new video on your monitored channel becomes a stream of ready-to-post Shorts.
The best part? You can start with just one channel and scale up as you see results.
Ssemble Tools:
- AI Clip Maker →
- TikTok Clip Maker →
- YouTube Shorts Maker →
- Instagram Reels Maker →
- AI Shorts Maker →
Learn More
Ready to Start Clipping?
Transform long videos into engaging short-form clips with Ssemble's AI-powered tools.
Get Started